
Last updated October 16, 2026
 Wrought iron
 Wood & steel frame
 Farm & ranch
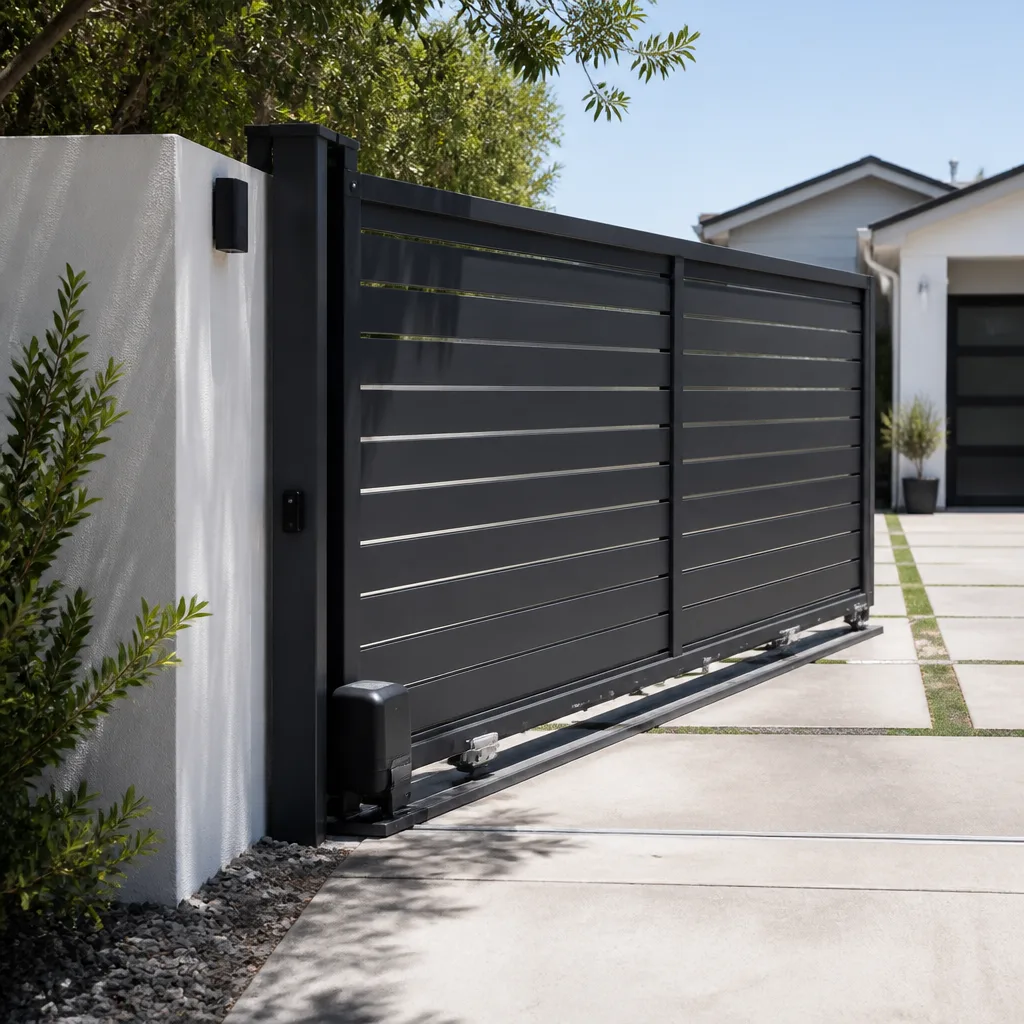 Sliding driveway gates
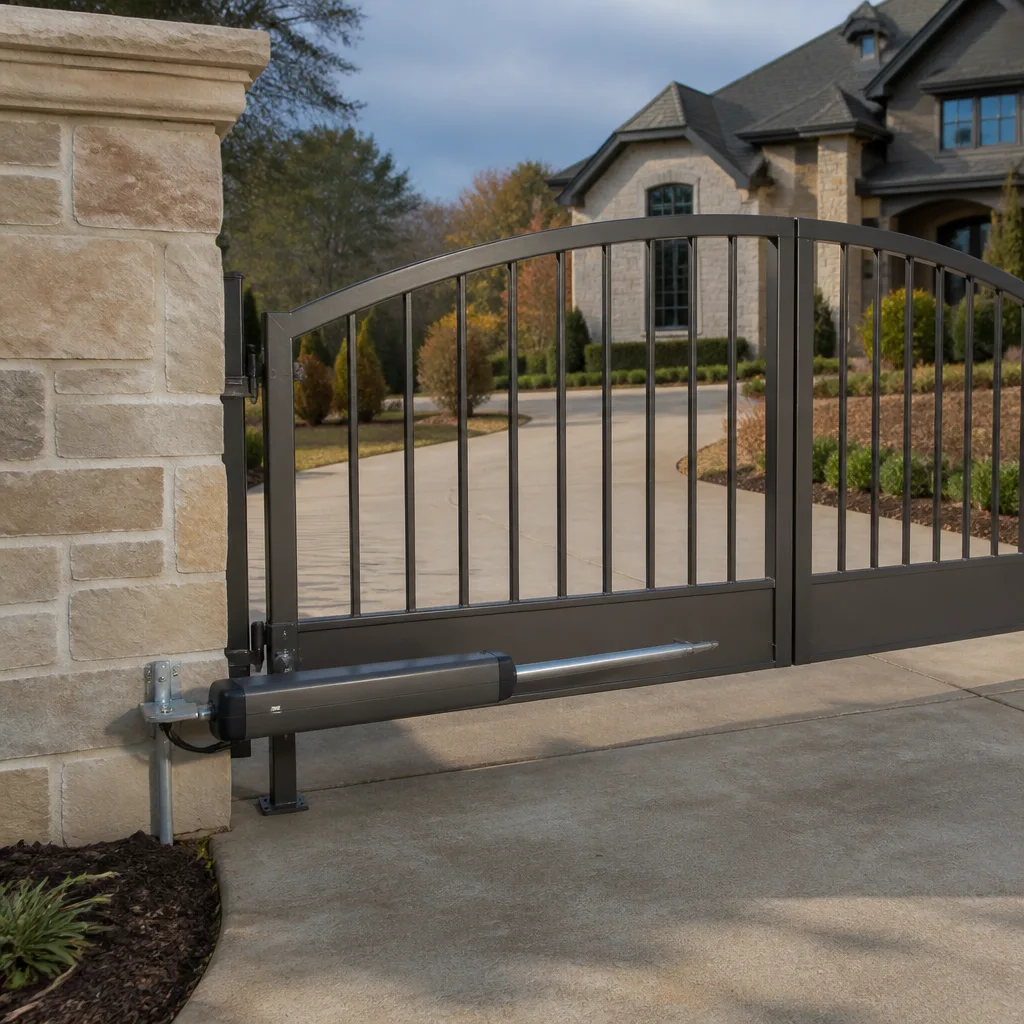 LiftMaster operators
Free on-site gate assessment - hinges, posts, and your LiftMaster or Nice gate operator checked before anything is quoted
The assessment is free and the quote is the invoice.
Get your free estimateDIY vs Professional Gate Repair: The Long Beach Homeowner’s Decision Guide
Most DIY gate repair comparisons miss the only variable that actually matters: whether the failure is in the operator system (the motor, control board, and sensors that move the gate) or the physical structure (the hinges, track, wheels, and steel that hold it up). Those two categories have completely different risk profiles, skill requirements, and liability exposure. A homeowner who understands that split can confidently handle a few repairs themselves and know exactly when picking up a wrench crosses from saving money into creating a UL 325 entrapment hazard that most Long Beach homeowner policies will not cover. This guide walks through that decision point honestly, including what we see on Gate Repair services calls across Long Beach when a YouTube repair goes sideways.
Quick Answer
DIY gate repair is genuinely safe for a small set of low-risk maintenance tasks: lubricating hinges and rollers, pairing a remote, replacing a keypad battery, or manually releasing a gate that is stuck. Professional repair is the right call whenever the failure involves the operator system (motors, control boards, auto-reverse sensors, or safety edges) or structural load-bearing components, because those repairs carry entrapment risk, manufacturer warranty implications, and liability exposure that most homeowners are not equipped to manage.
Styles & brands we work with
Table of Contents
- The Hidden Cost of DIY Gate Repair: UL 325 Liability
- The Split That Decides Everything: Operator vs. Structure
- Two Repairs Worth Doing Yourself with Confidence
- Three Repairs That Turn a $150 Part Into a $600 Call
- The Real Cost Accounting of DIY Gate Repair
- What Long Beach Homeowners Void by DIYing
- Long Beach-Specific Factors: Salt Air, Soil, and Sloped Driveways
- A Decision Checklist for Any Gate Problem
The Hidden Cost of DIY Gate Repair: UL 325 Liability
The number most DIY gate repair articles never mention is UL 325. It is the safety standard that governs automatic gate operators in the United States, and it exists because automatic gates have killed people. When a gate operator is installed or adjusted without proper attention to auto-reverse sensitivity, photo eye alignment, and edge sensor calibration, the gate becomes an entrapment hazard. A child, a delivery driver, or an elderly neighbor can be pinned between the gate and the post, and the force that moves a 400-pound steel gate should not be underestimated.
Here is the part that matters for the DIY decision: most standard homeowner’s insurance policies contain exclusions for injuries caused by improperly maintained or improperly modified automatic gate systems. If you adjust your own gate operator, skip the photo eye recalibration, and someone is injured, your insurer can deny the liability claim. We have seen this conversation unfold on Long Beach service calls where a homeowner self-adjusted their LiftMaster operator’s force setting to “fix” a gate that was reversing unexpectedly. The gate closed harder, which solved the symptom, and introduced a hazard that the homeowner did not know existed.
This is not a hypothetical scare tactic. It is the reason gate operators carry warning labels, the reason manufacturers publish installation manuals that are 40 pages long, and the reason the Consumer Product Safety Commission tracks automatic gate entrapment incidents. A professional adjustment includes verifying that the gate reverses on contact with a test object at multiple points along its travel, that photo eyes are aligned at the correct height, and that any edge sensors trigger a stop-and-reverse. Skipping those steps to save a service call fee is a bet most people would not knowingly make.
The Split That Decides Everything: Operator vs. Structure
Every gate repair falls into one of two categories, and the category determines whether DIY is reasonable or reckless.
The Operator System
The operator system is everything that moves the gate automatically: the gate motor (the box that slides or swings your gate automatically), the control board inside it, the remote receivers, the keypad wiring, the photo eyes, the safety edge sensors, the limit switches, and the power supply. These components interact with each other through low-voltage wiring, logic boards, and factory calibration settings. A single incorrect wire connection can burn out a control board. A single misadjusted limit switch can make a gate slam into its stop. A single skipped sensor test can create the entrapment hazard described above.
In our experience across Long Beach, operator failures are the most common service call we receive, and they are almost never caused by a single failed part. A gate that opens but will not close is usually a photo eye alignment issue, a failed safety edge, or a force setting that drifted. A gate that hums but does not move is usually a failed capacitor or a stripped gear inside the operator arm. These diagnoses require a multimeter, manufacturer wiring diagrams, and a working knowledge of how the safety circuit is supposed to behave. They are not repairs a homeowner should attempt from a YouTube video.
The Physical Structure
The physical structure is everything that holds the gate up and lets it swing or slide: the hinges, the post brackets, the track, the rollers, the wheel bearings, the chain, and the steel or aluminum frame itself. Some structural maintenance is genuinely safe for a prepared homeowner. Lubricating hinges with the right product, tightening post bolts that have loosened, cleaning debris out of a track. Those are maintenance tasks with no electrical component and no entrapment risk.
But structural repair, as opposed to maintenance, is a different story. A gate that has sagged because its hinge weld cracked is carrying hundreds of pounds of weight, and a failed hinge can drop the entire gate onto a person. Replacing a structural hinge or weld-repairing a cracked post requires lifting equipment, the right welding or bolting hardware, and an understanding of load distribution. The structural category is the perfect illustration of this guide’s thesis: the line between safe DIY and dangerous DIY is not the tool you are holding, it is whether the component you are touching carries electricity or weight.
Two Repairs Worth Doing Yourself with Confidence
There are exactly two categories of gate work that a prepared homeowner can handle without meaningfully increasing their risk. We are specific about this because most DIY articles err in both directions, either encouraging too much or forbidding everything.
1. Lubrication and Track Cleaning
A sliding gate that has become noisy or jerky is often just dry. The fix is a white lithium grease on the chain and track wheels, or a silicone-based lubricant on the rollers. The process is simple:
- Disconnect the operator using the manual release handle so the gate moves freely.
- Clean the track with a stiff brush and remove any packed dirt, leaves, or pebbles.
- Apply lubricant to the chain, wheel bearings, and any pivot points.
- Move the gate by hand several times to distribute the lubricant.
- Reconnect the operator and cycle the gate once to confirm smooth operation.
Long Beach’s coastal air and periodic Santa Ana winds deposit a mix of salt and grit on exterior hardware, which makes lubrication a genuinely useful maintenance habit every four to six months. This is a task with zero electrical exposure and zero entrapment risk if the gate is manually released first.
2. Remote Pairing and Keypad Battery Replacement
If your remote stopped working but the gate still operates from the wall button or keypad, the issue is almost always the remote itself. Pairing a new remote to a Mighty Mule, LiftMaster, or DoorKing operator is a documented procedure in the owner’s manual. It usually involves pressing a “learn” or “program” button on the operator, then pressing the remote button within a time window. The keypad battery is a no-tool replacement on most models.
These are low-risk tasks because they do not require opening the operator housing, touching the control board, or adjusting any safety setting. If the pairing procedure fails after two attempts, stop and call a professional. Repeated attempts on some DoorKing and Elite boards can lock the receiver into a fault state that requires a technician to clear, which is an avoidable service call.
Three Repairs That Turn a $150 Part Into a $600 Call
These are the repairs we see attempted most often, and the ones that most consistently become a professional service call after the DIY attempt fails. The pattern is always the same: the homeowner buys a part, installs it, the gate still does not work, and now the technician has to diagnose both the original problem and the new one the DIY install created.
1. Replacing a Control Board
A homeowner buys a replacement control board for a LiftMaster or FAAC operator because the gate stopped responding. The part costs $150 to $300 online. The install appears straightforward: unplug the old board, plug in the new one. What the DIY installer does not know is that the new board must be configured for the specific operator model, limit switch type, accessory wiring, and safety input configuration. A misconfigured board can fault on startup, fail to recognize the photo eyes, or drive the motor in the wrong direction. The professional service call to correct this now involves undoing the install, verifying the board was not damaged by incorrect wiring, and reprogramming everything from scratch. The $300 part has become a $600 repair, and the homeowner still does not have a working gate.
2. Adjusting Force or Limit Settings to “Fix” a Reversing Gate
This is the most dangerous DIY repair on the list. A gate that reverses when closing is doing exactly what it is supposed to do: the auto-reverse circuit is detecting resistance and responding. When a homeowner cranks up the force setting so the gate pushes through the resistance, they are disabling the safety function that prevents entrapment. We have seen this on Long Beach service calls where a home’s gate had been slowly drifting out of alignment, creating enough friction to trigger the auto-reverse. The correct fix is to address the alignment or the obstruction. The DIY fix, increasing force, creates a gate that will now close on a person. A UL 325 compliant gate operator must reverse on contact with a test object not exceeding a specified force. A force setting cranked past that threshold violates the standard and exposes the homeowner to liability.
3. Replacing a Safety Edge or Photo Eye Without Recalibrating
Safety edges and photo eyes are simple components: a pressure-sensitive strip on the gate edge, and an infrared beam across the gate opening. Replacing one seems simple. But the replacement must be wired into the operator’s safety circuit correctly, positioned at the manufacturer-specified height, and tested across the full range of gate travel. A photo eye installed a half-inch too high will not detect a small child near the ground. A safety edge wired into the wrong input will not trigger a stop-and-reverse. The professional recalibration involves test objects at multiple heights and positions, a step that DIY installs typically skip because the YouTube video did not mention it.
The Real Cost Accounting of DIY Gate Repair
The financial case for DIY gate repair usually assumes that the only cost is the part. That assumption falls apart quickly when you account for how parts are priced and what a misdiagnosis costs.
A homeowner buying a replacement gate motor or control board pays retail parts pricing. A gate repair company in Long Beach pays trade pricing on the same components, which means the parts cost built into a professional quote is often lower than what the homeowner would pay online. The difference is not always dramatic, but it is real, and it erodes the DIY savings before the work even starts.
The bigger cost is the rework. Gate symptoms are notoriously ambiguous. A gate that opens but will not close could be a photo eye, a safety edge, a force setting, a limit switch, or a failing capacitor. A homeowner who guesses wrong buys a part, installs it, and the gate still does not work. Now the homeowner has paid for the wrong part plus the professional repair they needed in the first place. We have seen this exact sequence on calls across Long Beach: a $150 capacitor purchased for a problem that was actually a $40 limit switch, followed by a service call that cost more than the original repair would have. The “savings” from DIY was negative before the technician even arrived.
There is also the cost of time. A professional diagnosis on a typical operator failure takes thirty to forty-five minutes. A homeowner diagnosis, working from symptoms and online research, can take a weekend. For homeowners who value their time at any reasonable hourly rate, the math rarely favors DIY for operator repairs.
What Long Beach Homeowners Void by DIYing
Manufacturer warranties on automatic gate operators contain language that most DIY installers never read. LiftMaster and FAAC warranties, in particular, state that the warranty covers defects in materials and workmanship under normal use and proper installation. “Proper installation” means installation by a qualified technician following the manufacturer’s published installation manual. When a homeowner opens the operator housing, replaces a board, or adjusts settings, and the unit later fails, the manufacturer can determine that improper service contributed to the failure and deny the warranty claim.
The practical consequence is this: a gate motor that fails within its warranty period is worth a free replacement part from the manufacturer. That free part is only available if the repair path preserves the warranty. A homeowner self-repair that goes wrong can void coverage on a component that would have cost nothing to replace. This is not a theoretical risk; it is written into warranty terms that are available on every manufacturer’s website.
There is a secondary consideration for Long Beach homeowners. Coastal moisture accelerates corrosion on gate operator internals, and manufacturers know this. A warranty claim on a corroded control board is more likely to be honored when a professional technician can document the failure and confirm that the unit was installed and maintained according to spec. A homeowner-opened unit with corrosion damage is more likely to be classified as environmental wear, which many warranties exclude.
Long Beach-Specific Factors: Salt Air, Soil, and Sloped Driveways
Long Beach is not a generic market, and gate repair decisions here are shaped by local conditions that a national DIY article will not address.
First, the marine layer. Homes in Belmont Shore, Naples, and the Peninsula live with salt-laden air year-round. Salt accelerates corrosion on gate hinges, track hardware, and operator internals. The maintenance interval for lubrication and inspection is shorter here than it is inland. A homeowner who lubricates quarterly and has the operator inspected annually will get more years out of a gate than one who follows a generic maintenance schedule. For a detailed routine, see our Gate Repair Maintenance Checklist for Long Beach Homeowners.
Second, the soil. Much of Long Beach is built on sandy or expansive soil, and gate posts set in concrete can shift over time. A gate that was perfectly aligned five years ago may now be out of square because the post has moved a fraction of an inch. This is a structural issue, not an operator issue, and it is the root cause of many “broken” gates that are actually misaligned gates. Diagnosing post movement requires a level, patience, and an understanding of how much misalignment an operator can tolerate before it fights the gate.
Third, the driveways. Long Beach has a large stock of homes built in the 1920s through 1950s, many with narrow driveways and short setbacks. Sliding gates, which are common here because swing gates need clearance to arc open, run on tracks that collect leaves from the city’s mature tree canopy. Seasonal cleaning is not optional; a track packed with wet leaves in a winter rain adds drag that can trip the auto-reverse or burn out a motor.
A Decision Checklist for Any Gate Problem
When your gate stops working, run through this checklist before you touch a tool. It separates the jobs you can handle from the jobs you should hand off.
- Does the problem involve electricity, the motor, the control board, the sensors, or the remote receiver? If yes, this is an operator problem. Stop. Call a professional. The entrapment and warranty risks are not worth the attempted savings.
- Does the problem involve weight-bearing components: hinges, posts, track brackets, or the gate frame? If yes, this is a structural problem. A loose bolt you can tighten yourself is maintenance. A cracked weld, a bent hinge, or a shifted post is repair. Call a professional.
- Is the gate making noise but still moving? Try lubrication and track cleaning. These are safe DIY tasks with no electrical or structural risk if the operator is manually released first.
- Did a remote or keypad stop working while the gate still functions from the wall button? Try pairing a new remote or replacing the keypad battery. These are safe DIY tasks.
- Did the gate reverse unexpectedly or fail to close completely? Do not adjust force settings. The auto-reverse is doing its job. Call a professional to diagnose the actual cause.
- Are you unsure which category the problem falls into? Call a professional. A good gate repair company will talk through the symptoms with you on the phone and help you understand what you are dealing with before anyone comes out.
Common Mistakes to Avoid
- Cranking up the force setting to fix a reversing gate. This disables the UL 325 auto-reverse safety function and creates a gate that can close on a person. It also exposes the homeowner to liability that most insurance policies will not cover.
- Guessing at a diagnosis and buying a part before understanding the failure. Gate symptoms overlap heavily. A $150 capacitor will not fix a photo eye problem, and the wrong part plus the eventual service call costs more than the professional repair would have in the first place.
- Watching a video for a different brand. A LiftMaster learn-button procedure is not the same as a DoorKing or Mighty Mule procedure. Following the wrong instructions can lock a receiver into a fault state that requires a technician to clear.
- Ignoring salt corrosion on coastal Long Beach hardware. Hinges and track components that look “a little rusty” are closer to failure than they appear. Inspect corrosion-prone hardware twice a year if you live within a mile of the ocean.
- Replacing a safety edge or photo eye without testing it afterward. A photo eye that is half an inch too high will not detect a small child. The professional testing procedure involves test objects at multiple heights and positions, and skipping it leaves an unverified safety system.
- Assuming a sagging gate just needs a bolt tightened. Sag is usually a structural issue, either a failing hinge or a shifting post. Tightening a bolt masks the symptom while the underlying problem worsens.
See the difference
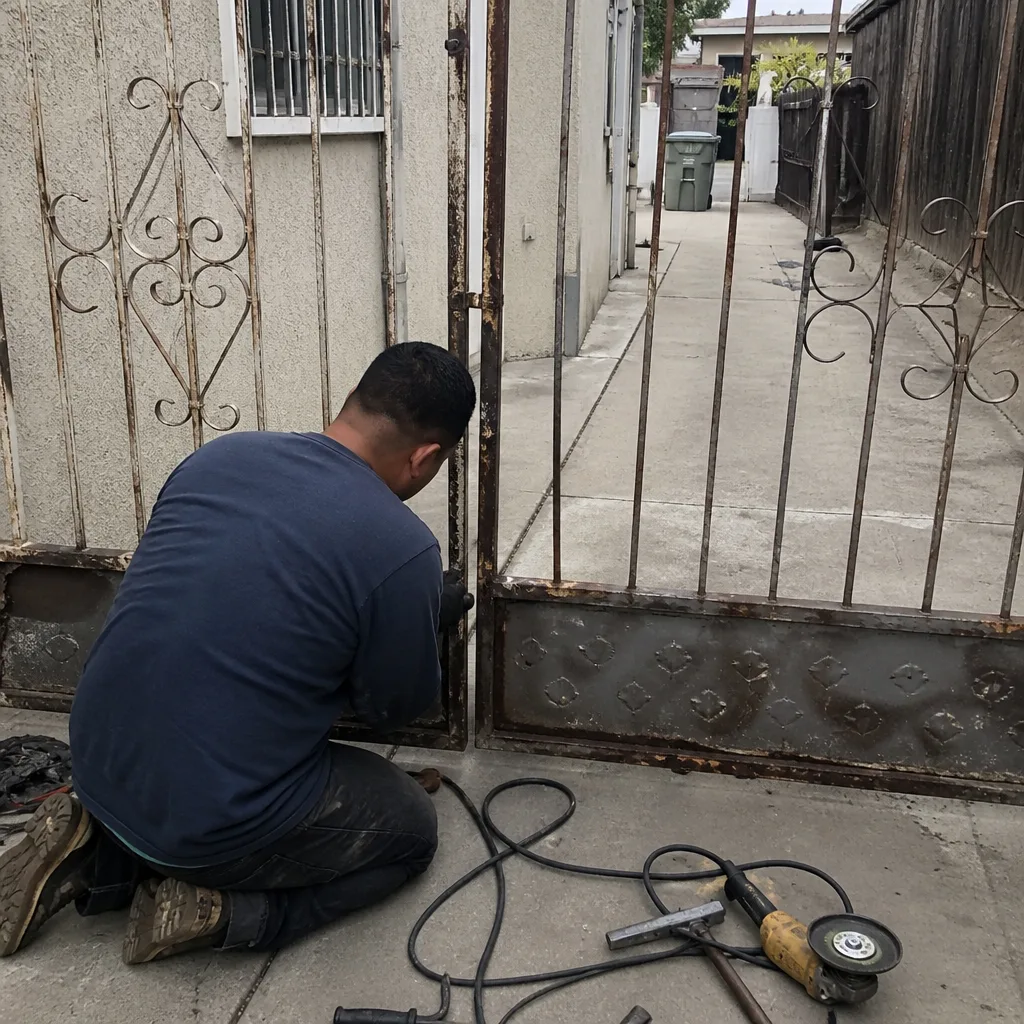 Before
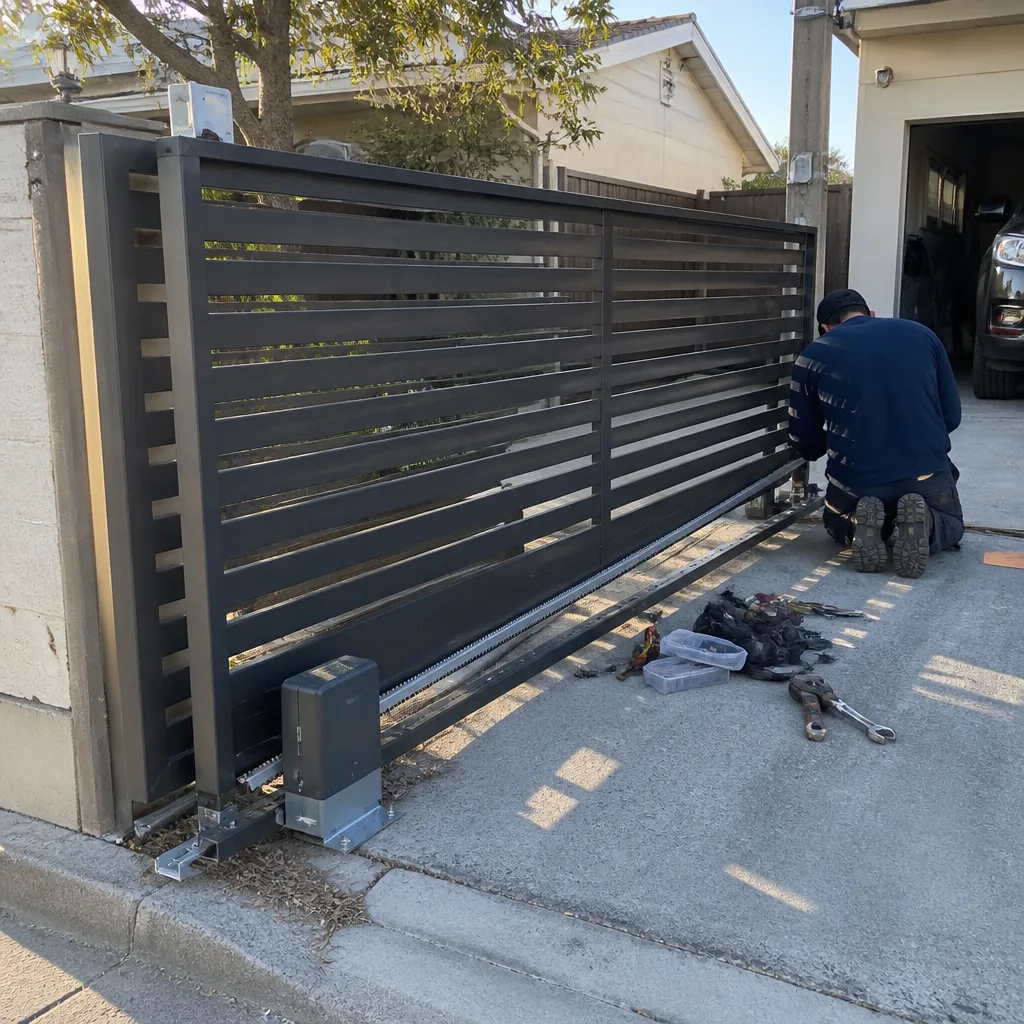 After
After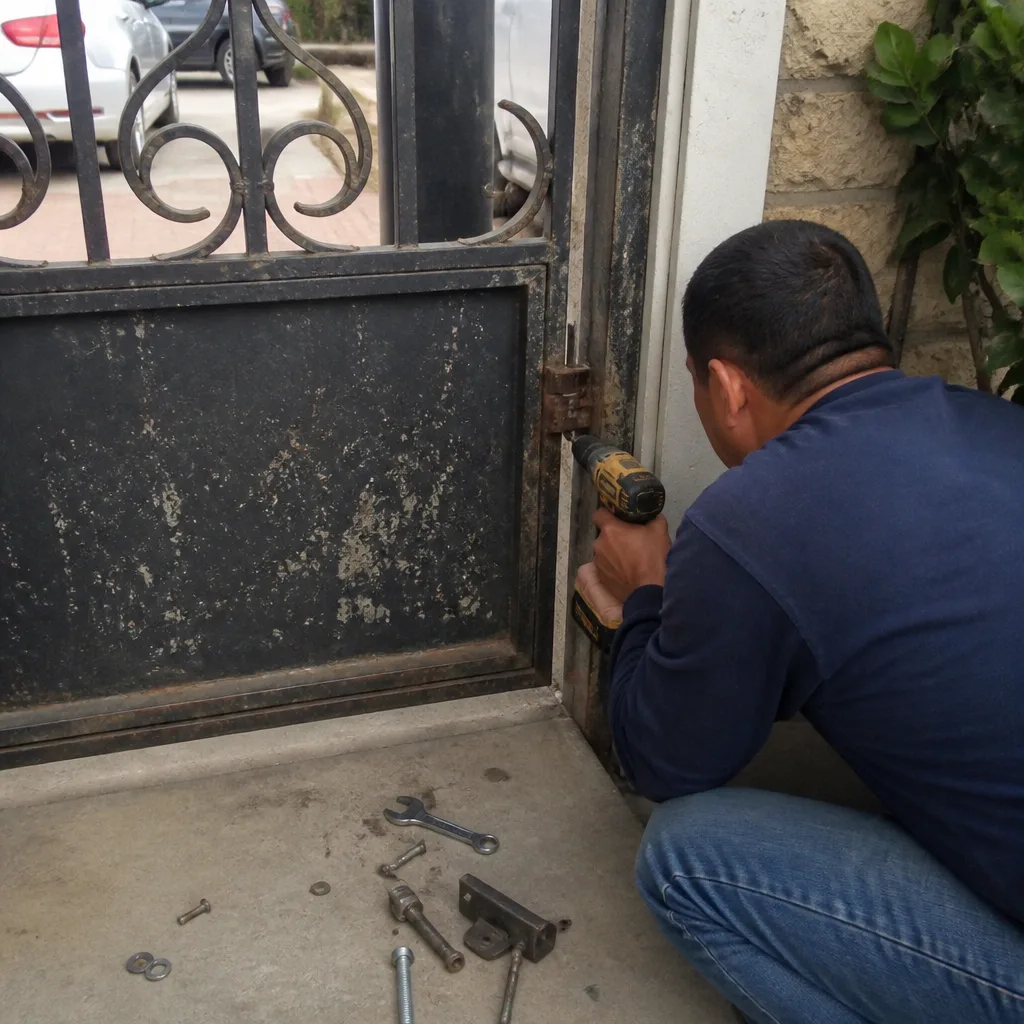 Before
 After
After Before
 After
AfterWhen to Call a Professional
Call a professional when the problem touches the operator system, the safety circuit, or any weight-bearing structural component. That covers most gate repairs. If the gate hums but does not move, if it reverses unexpectedly, if it will not close at all, if a hinge or weld has cracked, or if you have already attempted a repair and the gate still is not right, the DIY window has closed. Warden Gate Repair Long Beach offers free estimates in Long Beach, and we will talk through the symptoms with you before anyone comes out. Call (562) 512-6788 for an honest read on what you are dealing with, from Warden Gate Repair Long Beach home to your driveway.
Frequently Asked Questions
Professional gate repair in Long Beach typically runs $150 to $450 for common operator failures like limit switches, capacitors, photo eye realignment, and safety edge replacement. For a full breakdown of expected costs, see our Gate Repair Cost Breakdown: The Long Beach Homeowner’s Reference for 2026. Control board replacement runs $350 to $700 depending on the operator brand and model. A full gate motor replacement runs $800 to $1,800 installed, depending on whether it is a slide or swing operator and the brand involved. Every repair we quote includes a written price before any work starts, so there is no open-ended invoice at the end. Call (562) 512-6788 for a free estimate on your specific gate.
You can safely handle lubrication, track cleaning, remote pairing, and keypad battery replacement on your own. Anything involving the operator internals, the safety circuit, the control board, or load-bearing structure should be handled by a professional, because those repairs carry UL 325 entrapment risk and manufacturer warranty implications that most homeowners are not positioned to manage.
We service and repair LiftMaster, FAAC, BFT, Linear, Viking, Ghost Controls, DoorKing, Elite, and Mighty Mule operators. If your gate uses a different brand, call us and we will tell you honestly whether it is a system we can support. Our Gate Repair in Long Beach coverage spans the full city, from Naples to Bixby Knolls.
A properly installed and calibrated automatic gate is safe, but only if the UL 325 entrapment protections are in place and verified: auto-reverse on contact, photo eyes at the correct height, and safety edges where required. Gates that have been self-adjusted or installed without these protections are a documented injury risk. If your gate was installed or adjusted by anyone who skipped the safety verification, we recommend a professional inspection. Our Electric Gate Repair in Long Beach service includes full safety circuit testing on every visit.
A well-maintained gate motor in Long Beach’s coastal climate typically lasts 8 to 12 years before replacement. Homes within a mile of the ocean tend to see shorter lifespans because salt air accelerates corrosion on internal components. Regular lubrication, track cleaning, and annual operator inspections extend the lifespan meaningfully. When a motor does fail, our Gate Motor Repair in Long Beach service can usually diagnose the failure and quote a replacement in a single visit.
Yes, every time, no exceptions. The written price is delivered before any work starts, and the price on the page is the price on the invoice. No surprise line items at the end. If the repair is not right, our 365-Day Done Right Promise includes a free return visit to make it right. Call (562) 512-6788 and talk to a live person about your gate today.
The Bottom Line
The DIY vs. professional gate repair question has a clean answer when you sort the problem correctly. Lubrication, track cleaning, remote pairing, and keypad batteries are safe homeowner tasks that save a service call. Everything in the operator system and everything load-bearing belongs with a professional, because those repairs carry entrapment liability, warranty implications, and rework costs that erase any DIY savings. Long Beach adds salt air, shifting soil, and older housing stock to the equation, which makes professional maintenance a smarter investment here than in most markets. When the problem is beyond a can of lubricant, call (562) 512-6788 and get a written price before anything gets touched. For more guides & resources, visit our blog.
Written by Cole Rafferty, Owner at Warden Gate Repair Long Beach, serving Long Beach since 2008.